MOCHIS
GLUTEN FREE & Vegan
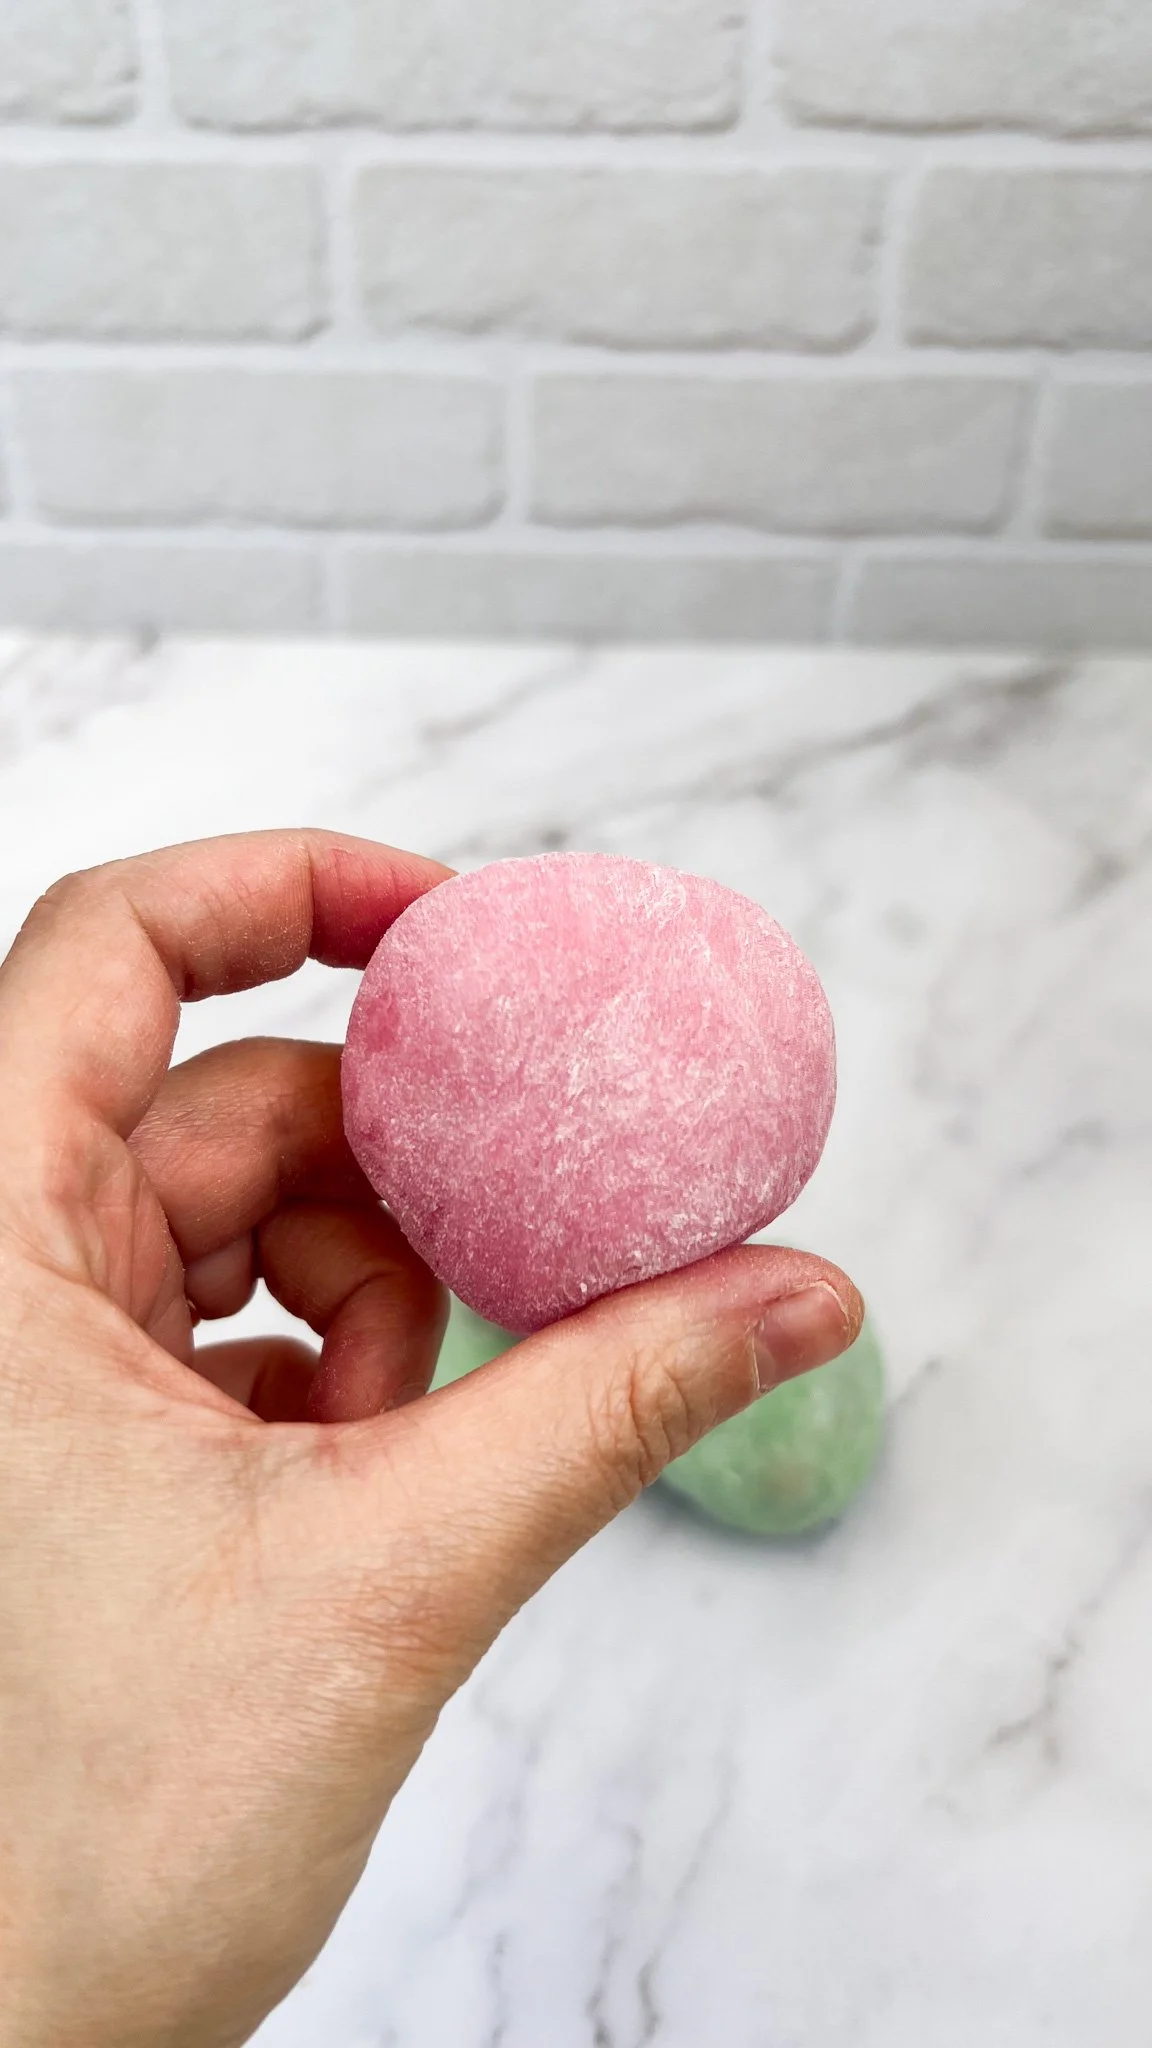
Mochis are delightful, chewy treats that have captured the hearts and taste buds of many around the world. These Japanese rice cakes, made from glutinous rice, can be enjoyed in various forms and flavors. In this blog post, we'll explore the essential tips and tricks for creating perfect mochis.
Understanding the Basics
Mochis are traditionally made with glutinous rice, which gives them their distinct chewy texture. It's crucial to choose the right type of rice, ensuring it has a high starch content. Sweet rice or mochiko flour, a glutinous rice flour, is commonly used in mochi recipes.
The Importance of Moisture
Achieving the perfect chewiness in mochis relies heavily on moisture content. Adding vegan milk or water to the rice flour or glutinous rice dough is crucial, but it's essential to strike a balance. Too much moisture can make the dough sticky, while too little can result in a dry and crumbly texture.
Filling of our Mochis
Mochis are often filled with sweetened red bean paste (anko), but the possibilities are endless. Experiment with chocolate, fruit, or even ice cream fillings for a delightful surprise in every bite. For our mochis, we made two homemade fruit sauces, caramelized nuts in the oven with agave syrup and added almond butter on top. So delicious and the best part is: it is all refined sugar free and done in under 15 Minutes.

Perfecting the Mochi Shape
Shaping mochis requires finesse. Prevent sticking by dusting your hands and work surface with cornstarch, tapioca starch or potato starch. If you feel like the dough is to sticky during the mixing process, add a bit of tapioca flour. This will help to make the dough a bit more stretchy and less sticky. Try our recipe and try your first homemade mochis!

Vegan and gluten free Mochis
Ingredients
Instructions
- Mix all the ingredients for the dough together and cover the bowl with a microwave safe plastic wrap, poke some wholes with a fork.
- Microwave 3-4 min and check every 30 seconds until the dough is sticky and no longer wet.
- Mix with a mixer and your hands and add tapioca starch if necessary until your dough is stretchy and refrigerate for 30 minutes
- Split the cold mochi dough into 6 pieces, roll each into a thin circle on a starch-dusted surface, and place on small bowls coated with starch.
- Fill your mochis by adding 2-3 caramelized nuts, 1-2 tsp fruit sauce of choice and 1 tbsp almond butter and close them by pinching the edges together and cut the top with a scissor.
- If using frozen raspberries, allow them to thaw for a bit. If you are using fresh raspberries, wash them and dry them.
- Place the raspberries in a blender or food processor.
- Blend until you get a smooth puree.
- In a small bowl, mix 1 tablespoons of starch with a couple of tablespoons of water to create a smooth past.
- In a saucepan, heat up the raspberry puree, gradually pour in the starch mixture while stirring constantly to avoid lumps.
- Continue stirring until the sauce thickens to your desired consistency.
- Let it cool down, before using.
- If using frozen kiwis, allow them to thaw for a bit, If using fresh kiwis, peel and slice them.
- Place the kiwis in a blender or food processor.
- Blend until you get a smooth puree.
- In a small bowl, mix 1 tablespoons of starch with a couple of tablespoons of water to create a smooth past.
- In a saucepan, heat up the kiwi puree, gradually pour in the starch mixture while stirring constantly to avoid lumps.
- Continue stirring until the sauce thickens to your desired consistency.
- Let it cool down, before using.
- Preheat your oven on 175°C
- In a bowl, mix together the agave syrup and the nuts.
- Spread the coated nuts in a single layer on a parchment paper-lined baking sheet. This will help prevent sticking.
- Place the baking sheet in the preheated oven and bake for about 5-8 minutes, or until the nuts are golden brown. Make sure to stir the nuts every 2-3 minutes to ensure even caramelization.
- Once done, remove the nuts from the oven and allow them to cool completely on the baking sheet. The caramelization will continue as they cool.
- Once completely cooled, break the nuts into clusters. They will harden as they cool.
Nutritions are calculated per portion. These values provide an estimate for each serving when the entire recipe is divided into two portions. Keep in mind that the nutritional content may vary based on specific product brands and quantities used. For precise nutritional information, refer to product labels or consult a nutritionist.