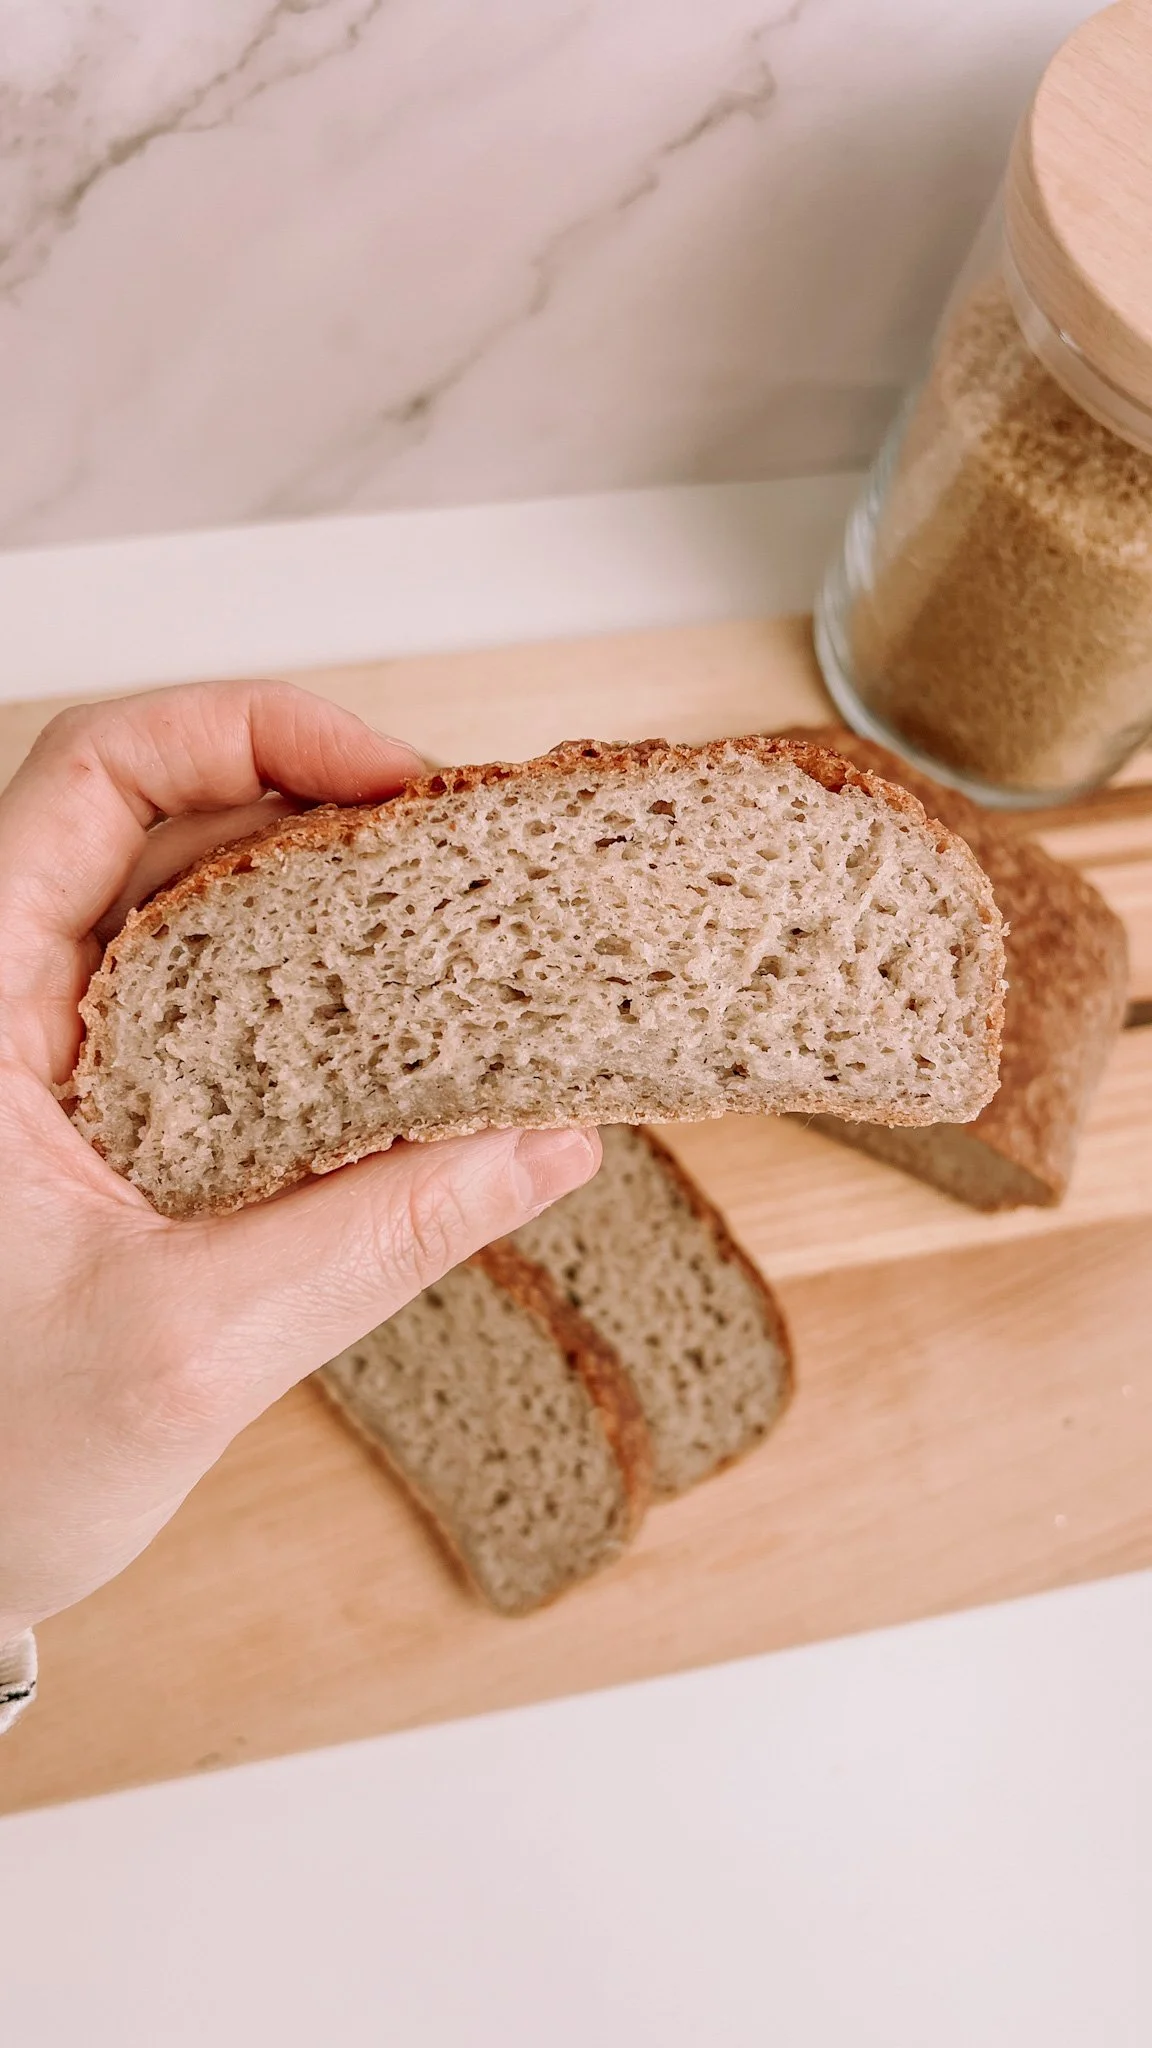
The easiest gluten free bread recipe
Vegan and dairy free
Welcome to the wonderful world of homemade gluten-free bread! Baking your own bread can be a rewarding and surprisingly simple task, especially when using available ingredients like tapioca starch, rice flour, and buckwheat flour. In this article, we'll explore how baking your gluten-free bread not only fits the bill for those with dietary restrictions but also offers a tastier and more budget-friendly alternative to store-bought options.
One of the best things about making your own gluten-free bread is that the key ingredients – tapioca starch, rice flour, and buckwheat flour – can be easily found at your local organic supermarket. No need to hunt down exotic flours or trek to specialty stores. With these basics in hand, you're already on your way to crafting a delicious loaf.
Believe it or not, baking your own gluten-free bread can be lighter on your wallet than constantly purchasing pre-made loaves. Because if we are honest: 5€ for 5 slices of bread seems exeggarated - doesn’t it!?

Important baking tipps for gluten free breads:
Resist the Temptation to Add More Flour
When working with gluten-free dough, it might be tempting to add extra flour to combat its stickiness. However, here's a crucial tip: resist that urge! Adding more flour can result in a dry and crumbly final product. Embrace the stickiness, and trust the process – your patience will be rewarded with a moist and delightful loaf.
The Magic of Ice Cubes
Once your gluten-free masterpiece is in the oven, here's a game-changing tip for maintaining moisture and achieving the perfect texture: toss a few ice cubes into an oven-proof pan during the first 15 minutes of baking. This simple trick creates a burst of steam, preventing the bread from drying out and ensuring a deliciously soft interior.

Grease and Line Your baking form
Before pouring in your gluten-free bread mix, generously coat the inside of your baking pan with oil. This ensures easy release and a beautifully shaped loaf. Add a layer of baking paper to the oiled pan. The excess paper hanging over the edges guarantees a hassle-free removal, preventing any sticking issues.
Baking your own gluten-free bread is a satisfying adventure that brings affordability, taste, and creativity to your kitchen. With easily accessible ingredients and a few handy tips, you'll soon find yourself enjoying a slice of homemade goodness without breaking the bank. So, roll up your sleeves, preheat that oven, and get ready to savor the simple joy of creating your own gluten-free bread at home. Happy baking!

Easiest gluten free bread
Ingredients
Instructions
- In a bowl, combine 20 g of whole/rough psyllium husk with 360 g of lukewarm water. Stir well and set aside. This mixture will form a gel-like consistency.
- In a large mixing bowl, combine the dry ingredients - tapioca starch, brown rice flour, buckwheat flour, sugar, salt, and instant yeast.
- Make a well in the center of the dry ingredients.
- Pour in the psyllium husk and water mixture, olive oil, and apple cider vinegar into the well.
- Gradually incorporate the wet ingredients into the dry ones, stirring until a sticky dough forms. Once combined, knead the dough for about 5 minutes until it becomes smooth
- Place the dough back into the bowl, cover it with plastic foil to prevent the dough from trying out, and let it rise in a warm place for approximately 1-1.5 hours or until it has doubled in size. If you don't have a warm place, create a warm environment by placing a bowl with hot water in the turned-off oven. Put the bowl with the dough inside the oven and let it rise for approximately 1-1.5 hours or until it has doubled in size.
- Preheat your oven to 220°C and prepare your baking pan by brushing it with oil and lining it with baking paper.
- Transfer the risen dough to the prepared pan, shaping it into a smooth loaf. Brush it with oil to ensure a golden brown bread.
- Just before placing the pan in the oven, add a few 8-10 ice cubes to an oven-proof pan at the bottom. This provides steam, ensuring a moist interior.
- Bake for 15 minutes on 220°C and do not open the door in between.
- After the 15 minutes, take out the ice cubes, let out the steam, turn down the oven to 200°C and bake the bread for another 30 Minutes on 200°C.
Nutritions are calculated per portion. These values provide an estimate for each serving when the entire recipe is divided into two portions. Keep in mind that the nutritional content may vary based on specific product brands and quantities used. For precise nutritional information, refer to product labels or consult a nutritionist.